
Cart
0
AUVERA CRAFT
Handcrafted Fine Jewelry · Buying Guide · 2026
How to Measure Ring Size at Home
Easy Methods for USA Ring Shoppers
The number printed inside your ring band is small. The difference it makes to how a ring fits, feels, and looks on the finger is anything but.
Order a ring in the wrong size and you are left with two choices — return it and wait, or pay to have it resized. Neither is the experience anyone wants when buying something meaningful.
The good news is that measuring accurately at home takes about five minutes and requires nothing most people do not already have. This guide walks through five reliable methods, explains the most common measuring mistakes, and tells you exactly what to do when you land between two sizes.
By the time you finish reading, you will know your size — and you will know you can trust it.
Before You Measure — Why Ring Size Is Not Fixed
Here is something that surprises most first-time ring buyers: your finger size changes throughout the day, across seasons, and even depending on what you had for lunch.
Fingers are affected by temperature, hydration, physical activity, and the time of day. A finger measured at seven in the morning on a cold day will give a different reading than the same finger measured at three in the afternoon after a glass of water. Neither reading is wrong — they are both accurate for that moment. The question is which one gives you a ring that fits comfortably across all those moments.
The answer is to measure when your finger is at its natural resting size — which happens in the middle of the day, at room temperature, without recent exercise or extreme heat. That is the measurement that produces the most reliable ring fit.
With that in mind, here are the five methods that work.
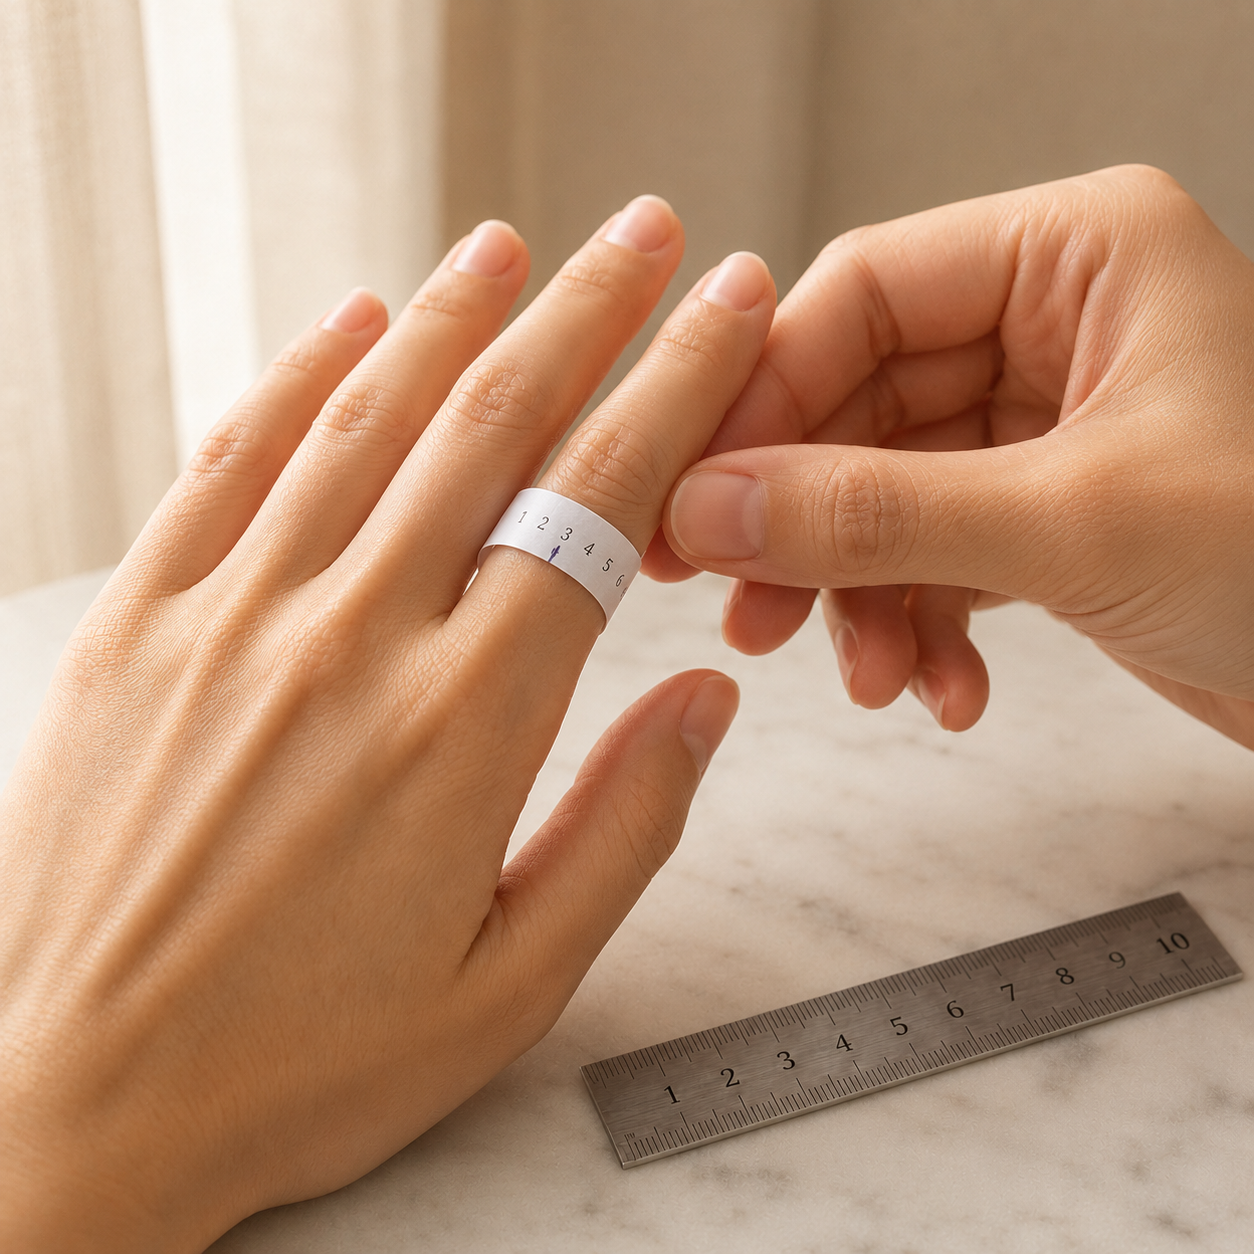
Method 1 — Paper and a Ruler
You need three things: a strip of paper, a fine-point pen, and a millimeter ruler. That is it.
Start by cutting a narrow strip of paper — roughly ten millimeters wide. Standard printer paper works perfectly. Tear a strip from a notepad, a piece of copy paper, anything non-elastic.
Bring that strip around the finger you are sizing, positioning it at the base of the finger rather than across the knuckle. Pull it snug enough to feel the contact with your skin but not so tight that it compresses the finger or changes its natural shape.
Hold where the paper meets itself and use your fine-point pen to mark that junction precisely. A broad tip marker introduces extra width into the reading — keep the mark as thin as possible for accuracy.
Unroll the strip and lay it flat against your ruler. Measure from the end of the paper to your pen mark in millimeters. That figure is your finger circumference.
To find your US ring size from that number: a circumference of roughly 52 millimeters puts you at a size 6, around 54 millimeters at a size 7, and around 57 millimeters at a size 8. Your jeweler can give you a complete chart for the full range, or you can cross-reference online against any standard US ring size table.
Method 2 — Measuring a Ring You Already Own
If a ring already exists that fits the correct finger perfectly, this approach removes the challenge of measuring a living, moving finger entirely. You are working with a fixed object instead, which makes the result inherently more stable.
All you need is that ring and a ruler with millimeter markings.
Set the ring down flat on a hard, even surface. Position your ruler so it crosses the inside of the ring from one inner wall to the other, passing through the center point. The measurement you want is the inside diameter — the space the finger actually occupies — not the outside of the band.
A reading of approximately 16.5 millimeters corresponds to a US size 6. Around 17.3 millimeters places you at a size 7. Roughly 18.2 millimeters puts you at a size 8. Around 19 millimeters sits at a size 9.
This approach is particularly well suited to surprise purchases. Take a ring the person wears on the finger in question, complete your measurement, and return it. The whole process takes under two minutes.
Method 3 — Thread or Cord
The logic here is identical to the paper method — you are capturing the circumference of the finger and measuring it against a ruler. The difference is the material.
Thread, thin cord, or dental floss all work for this method. The absolute requirement is that whatever you choose has no give to it whatsoever. Any elasticity in the material causes it to contract slightly as you wrap it, giving you a circumference reading that is smaller than the actual finger and leading you toward a ring that will be too tight.
Secure the thread around the base of the finger, mark where it overlaps, lay it against the ruler, and read the length in millimeters. Convert that to a US ring size using the same reference as the paper method above.
One thing worth noting about thread specifically: it can shift position when you unwrap it from the finger, which sometimes moves the overlap mark slightly. Placing a small piece of tape over the marked point before removing the thread from your finger helps hold that reading in place.
Method 4 — Printable Ring Sizer
No physical measuring required for this approach — just a printer and a ring you already own.
Several reputable jewelry websites make a free printable ring sizer available as a downloadable PDF. The document contains a series of circles, each representing the inside diameter of a specific US ring size. You download the file, print it, and place your ring over the circles until you find the one whose inner edge lines up with the inner edge of your ring.
The catch with this method — and it is an important one — is the printing itself. Your printer must output the document at exactly full size. Many printers default to scaling documents slightly to fit within their printable area, which changes the size of every circle on the page and makes the whole chart useless for sizing purposes. Before printing, open your printer settings and confirm that the scale is set to 100 percent and that no page-fitting option is active.
Once you have confirmed the print is accurate, the matching process takes about thirty seconds.
Method 5 — In-Store Professional Sizing
For any ring that represents a significant purchase — an engagement ring, a wedding band, a meaningful anniversary piece — there is no substitute for being sized in person by a jeweler.
The tool used is called a ring mandrel. It is a tapered metal rod marked at intervals with US ring sizes. Placing a ring onto it or sliding it onto the finger gives a precise reading that accounts for the actual three-dimensional shape involved — something a flat paper measurement cannot fully replicate.
The process takes less than two minutes and costs nothing at any reputable jewelry store. If you are visiting a jeweler to look at rings or make a purchase, ask to be sized first before narrowing down your choices.
At Auvera Craft, we size every customer at no charge — whether you are purchasing in person or simply want to confirm a measurement before placing an order remotely.
Five Mistakes That Produce the Wrong Size
Getting the method right is only half the equation. These five errors account for most of the sizing mistakes buyers make at home:
Measuring too early in the day. Finger size reaches its natural average somewhere in the mid-afternoon. Morning measurements — particularly on cool mornings — often read smaller than the finger's true resting size and can lead to ordering too tight.
Taking only one measurement. Fingers fluctuate. A single reading taken on a day when your fingers are slightly swollen or slightly contracted gives you a skewed number. Measuring on two or three separate days and using the largest of those readings produces a more dependable result.
Ignoring the knuckle. For many people, the knuckle is noticeably wider than the base of the finger. A ring sized only at the base may slide on easily but sit loose — or worse, may not clear the knuckle at all. Check both points and work with a size that sits between the two readings.
Using elastic or stretchy material. Any measuring material that stretches gives you an artificially smaller circumference. The resulting ring will be too tight. Non-stretching materials only.
Forgetting about band width. A wide band presses more surface area against the finger and always feels tighter than a narrow band of the same labeled size. If you are ordering a ring with a band wider than four millimeters, going up half a size from your usual measurement typically gives the same level of comfort.
When Your Size Falls Between Two Numbers
This happens to a significant number of buyers and the decision is usually straightforward — go with the larger size.
A ring that fits slightly loosely can be adjusted down or worn with a simple ring guard, both of which are inexpensive and quick. A ring that is too small to pass over the knuckle cannot be worn at all until it is resized, which takes time and adds cost.
The one case where this principle works a little differently is very wide bands. For rings where the band is exceptionally wide, going up a full size rather than half a size may give a better result.
|
Quick Reference — Ring Sizing at Home Easiest method with no special tools — Paper strip and ruler Most accurate home method — Measuring an existing ring's inside diameter Best approach for a surprise purchase — Borrow and measure an existing ring Removes all guesswork completely — Professional sizing at a jeweler Best time of day to measure — Mid-afternoon What to do between two sizes — Choose the larger one Wide bands — Size up half a size from your normal measurement How a correctly fitted ring feels — Slides over the knuckle with light resistance, sits comfortably at the base |
|---|
Need Help With Sizing? Talk to Auvera Craft
A ring that fits well is something you stop noticing after the first day. That is the goal — jewelry that becomes part of your life. Our team is always glad to help with any sizing questions before you order.
CONTACT OUR TEAM →
© 2026 Auvera Craft · Handcrafted Fine Jewelry · USA

